


Description
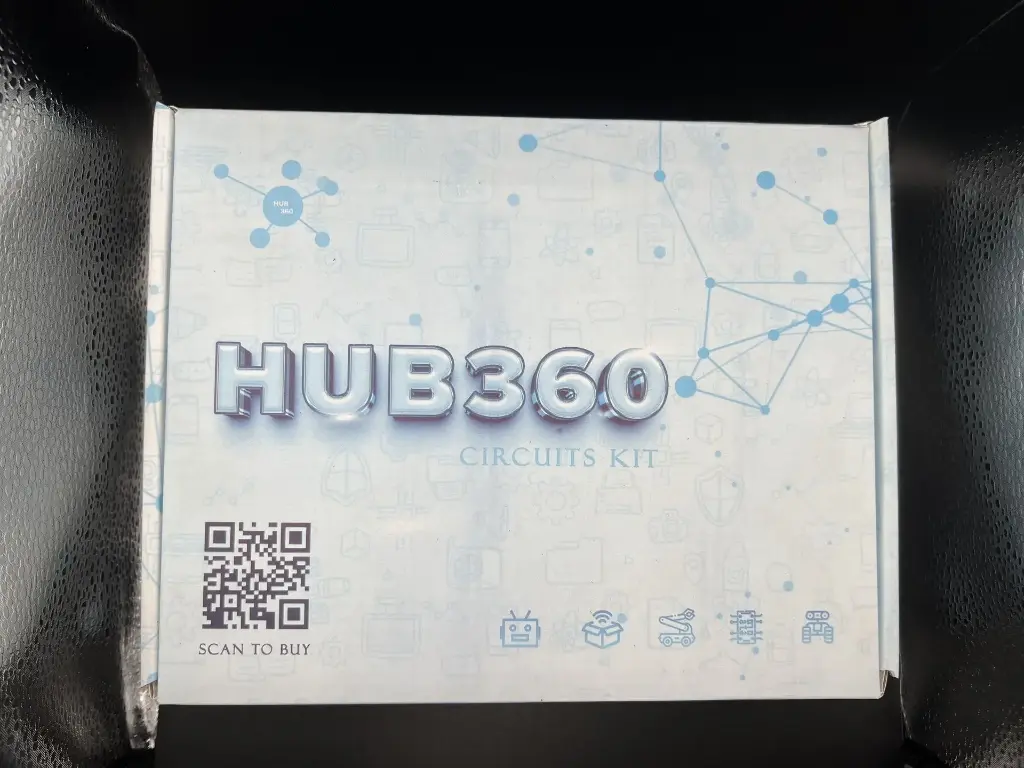
The Hub360 Arduino Starter Kit is a complete learning package designed for beginners, students, hobbyists, and makers who want to explore electronics, coding, and embedded systems. Powered by the popular Arduino Uno (ATmega328P), this kit includes a wide range of sensors, modules, and components that allow users to build hands-on interactive projects, learn programming, and understand electronic principles. Whether for STEM education, DIY prototyping, or self-learning, the Hub360 Starter Kit provides everything needed to start building immediately.
Key Features
- Complete Learning Kit: Includes Arduino Uno board, over 120 jumper wires, sensors, actuators, and displays.
-
Beginner-Friendly: Ideal for students, new learners, and DIY hobbyists.
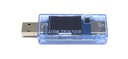
- USB Powered: Simple plug-and-play setup using the USB cable.
- Wide Compatibility: Works with Arduino IDE, multiple libraries, and community examples.
- Versatile Components: Allows creation of dozens of practical and fun projects.
- Quality Build: Durable components suitable for long-term use.
Technical Specifications
- Microcontroller: ATmega328P
- Operating Voltage: 5 V
- Input Voltage (recommended): 7–12 V
- Digital I/O Pins: 14 (6 PWM)
- Analog Input Pins: 6
- DC Current per I/O Pin: 20 mA
- Flash Memory: 32 KB (0.5 KB used by bootloader)
- SRAM: 2 KB
- EEPROM: 1 KB
- Clock Speed: 16 MHz
- USB Interface: Type-B (programming & power)
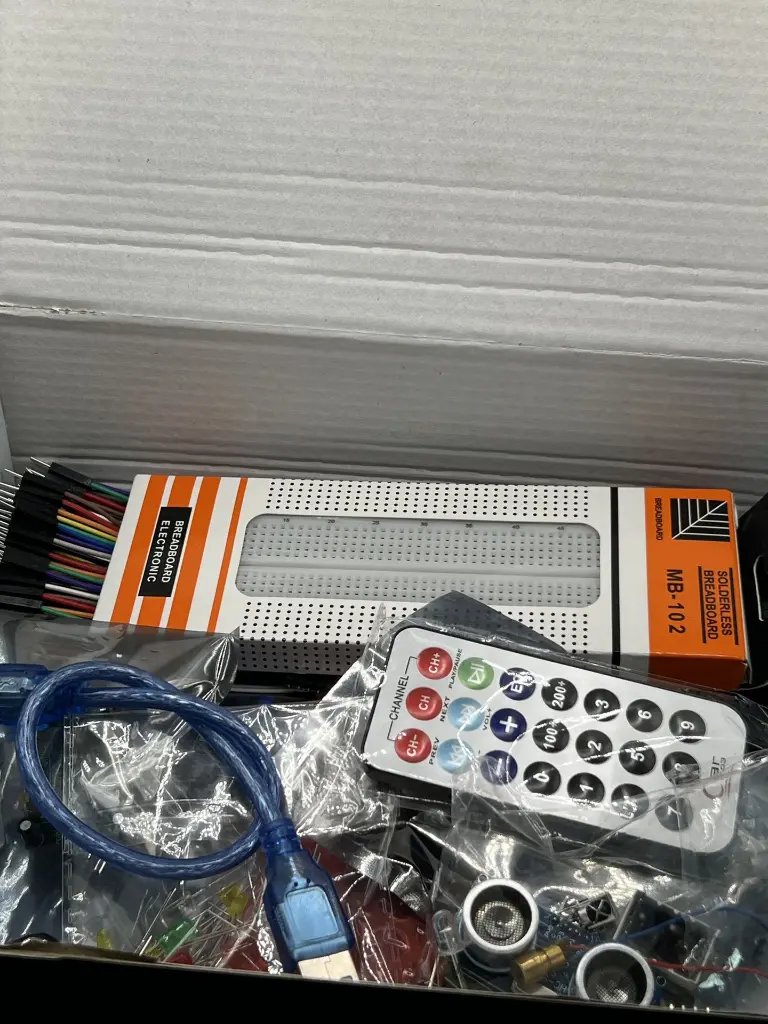
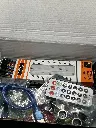
Kit Contents
- Arduino Uno Board – 1
- USB Cable – 1
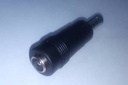
- Battery Connector – 1
- 400-Point Breadboard – 1
- LED Set (Red, Yellow, Green, White) – 20
- RGB LED – 1
- Jumper Wires (M-M, M-F, F-F) – 120
- LDR (Photoresistor) – 3
- Male Header Pins – 40
- Ultrasonic Sensor – 1
- Flame Sensor – 1
- Temperature/Humidity Sensor – 1
- Tilt Sensor – 1
- Laser Sensor – 1
- PIR Motion Sensor – 1
- Resistors (220Ω, 1kΩ, 10kΩ, 100kΩ) – 40
- 7-Segment Display – 1
- SG90 Micro Servo – 1
- IR Remote Control – 1
- Active Buzzer – 1
- 2N2222 Transistors – 2
- TSOP1838 IR Receiver – 1
- RF Transmitter – 1
- RF Receiver – 1
- Tactile Switches – 5
- 16×2 LCD Display – 1
Applications
- Beginner electronics training
- Robotics and automation projects
- IoT experimentation
- Interactive DIY devices
- School STEM labs
- Rapid prototyping
- Coding education and hands-on engineering learning
Usage Guide
Setup
- Connect Arduino Uno to PC using the USB cable.
- Install Arduino IDE and select Arduino/Genuino Uno in the board settings.
- Install drivers if required.
Programming
- Write or load example sketches from the IDE.
- Connect sensors and modules to the breadboard using jumper wires.
- Upload code and monitor outputs via the Serial Monitor.
Experimentation
- Follow step-by-step tutorials for each module.
- Modify sample codes for better understanding.
- Build small robots, alarms, sensors, measurement tools, displays, and more.
Caution
- Ensure correct polarity before connecting components.
- Avoid short circuits.
- Check your wiring before powering the board.
- Handle sensors and the Arduino board gently.