Arduino uno r3 with cable
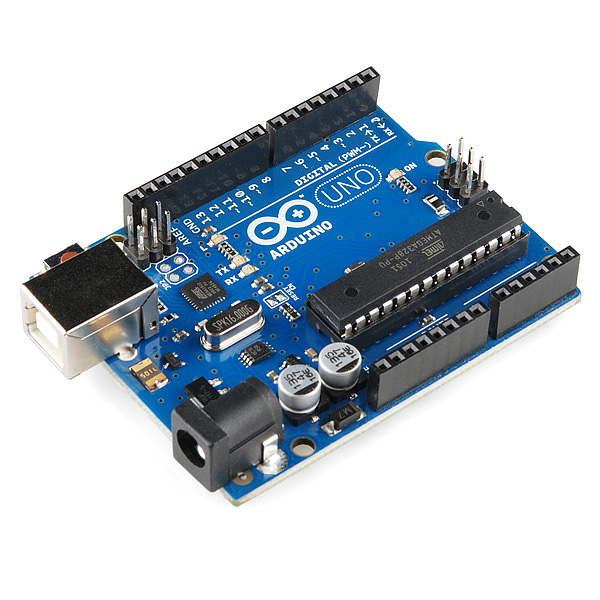
The Arduino Uno R3 is a popular microcontroller board based on the ATmega328P. It is designed for easy integration into a wide range of applications, from hobby projects to professional prototyping. The board features a comprehensive set of I/O pins, communication interfaces, and power options, making it ideal for learning, experimentation, and development of embedded systems.
Key Features:
- Microcontroller: ATmega328P
- 14 Digital I/O Pins (6 PWM outputs)
- 6 Analog Input Pins
- Clock Speed: 16 MHz
- USB connection for programming and power
- 32KB Flash Memory (0.5KB used by bootloader)
- 2KB SRAM and 1KB EEPROM
- Built-in Power LED
- Supports SPI, I2C, and UART communication
- Microcontroller: ATmega328P
- Operating Voltage: 5V
- Input Voltage (recommended): 7-12V
- Input Voltage (limits): 6-20V
- Digital I/O Pins: 14 (of which 6 provide PWM output)
- Analog Input Pins: 6
- DC Current per I/O Pin: 20 mA
- DC Current for 3.3V Pin: 50 mA
- Flash Memory: 32 KB (ATmega328P) of which 0.5 KB used by bootloader
- SRAM: 2 KB (ATmega328P)
- EEPROM: 1 KB (ATmega328P)
- Clock Speed: 16 MHz
- USB Connector: Type B
- Dimensions: 68.6 mm x 53.4 mm
- Weight: 25 g
- Embedded system prototyping
- DIY electronics projects
- Educational tools for learning programming and electronics
- Robotics
- IoT (Internet of Things) devices
- Automation and control systems
- Programming:
- Connect the Arduino Uno R3 to your computer using a USB cable.
- Open the Arduino IDE and select the board and correct COM port.
- Write your program (sketch) and upload it to the board.
- Powering:
- The board can be powered via the USB connection or with an external power supply (7-12V recommended).
- External power can be supplied through the power jack or via the Vin pin.
- Interfacing:
- Use the digital and analog I/O pins to connect sensors, actuators, and other components.
- Utilize communication interfaces like SPI, I2C, and UART for connecting to other devices and modules.
- Avoid exceeding the maximum current ratings to prevent damage to the board.
- Ensure proper handling to avoid static discharge which can damage the microcontroller.
- Use a proper power supply to avoid over-voltage damage.