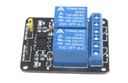

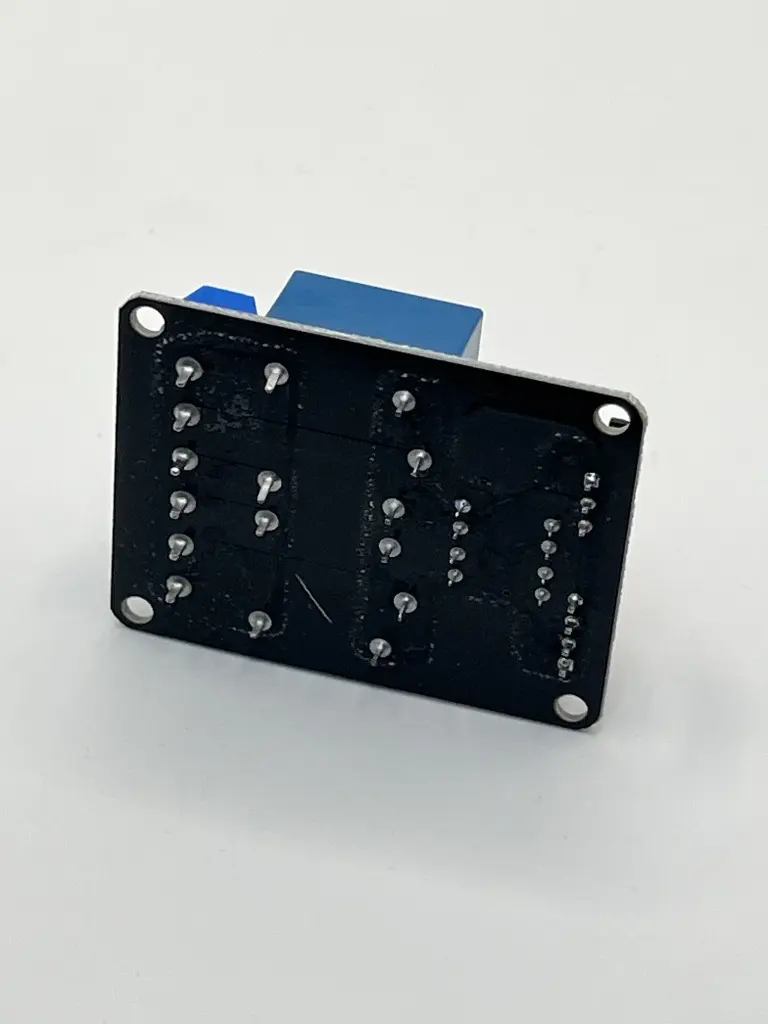

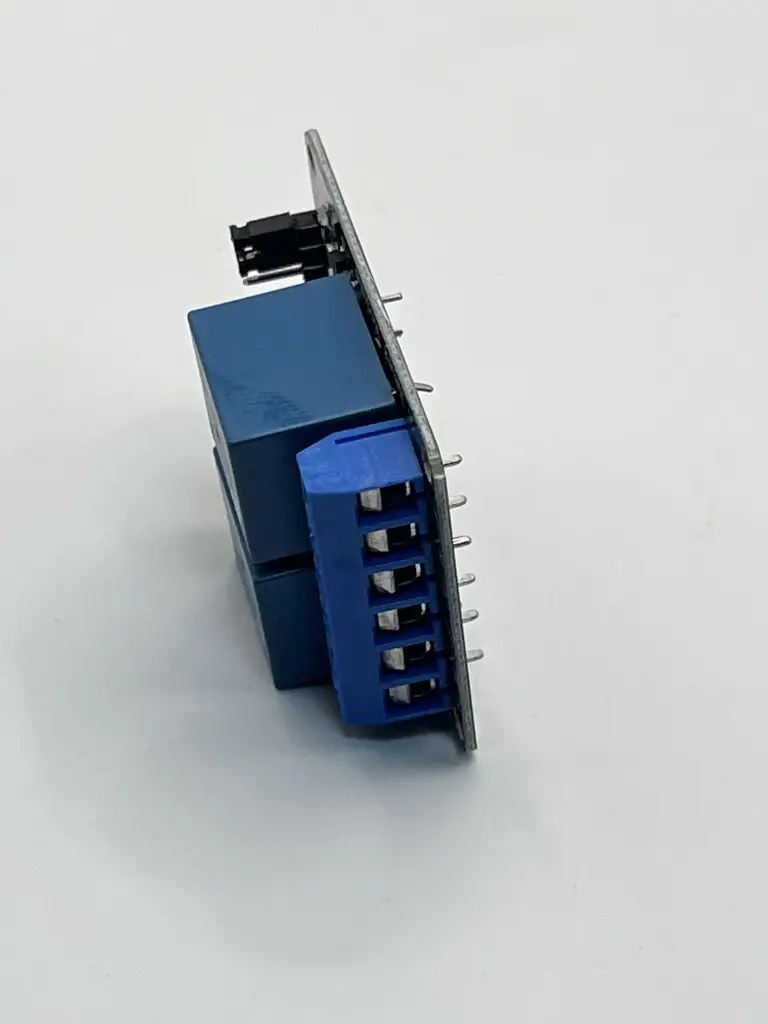
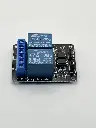
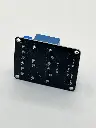

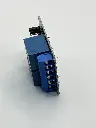
Relay module 2 channel
A 2-channel relay module is an electronic component used to control high voltage devices with a low voltage control signal. It contains two relays that can be independently activated by a microcontroller or other control circuits. Relay modules are commonly used in automation, control systems, and switching applications.
Key Features:
- Number of Channels: 2
- Relay Type: Typically Single-Pole Double-Throw (SPDT) or Single-Pole Single-Throw (SPST)
- Control Signal: Low voltage control signals (e.g., from microcontrollers or digital circuits)
- Isolation: Provides electrical isolation between the control circuit and the high voltage circuit
- Status Indication: Often includes LEDs to indicate relay status
- Control Voltage: 5V DC (commonly used with microcontrollers like Arduino)
- Relay Contact Rating: Typically 10A at 250V AC or 10A at 30V DC
- Operating Voltage Range: 5V DC ±10%
- Switching Capacity: Varies by relay type, generally up to 10A
- Isolation Voltage: Varies, typically up to 2500V AC
- Operating Temperature Range: -40°C to +85°C (depending on module specifications)
- Relay Actuation: Mechanical relay operation, typically controlled by a low voltage signal (e.g., 5V)
- Home Automation: Control lights, appliances, and other household devices
- Industrial Control: Switch machinery, equipment, and other industrial devices
- Automated Systems: Use in robotics, automotive systems, and other automated applications
- Microcontroller Projects: Interface with microcontrollers (e.g., Arduino, Raspberry Pi) for switching tasks
- Connect Control Signals: Connect the input pins of the relay module to the control signals from a microcontroller or other control source.
- Connect Load: Connect the load (high voltage device) to the relay output terminals.
- Power Supply: Provide a suitable 5V DC power supply to the relay module.
- Programming: Write code to control the relay activation based on your application needs.
- High Voltage Handling: Ensure proper insulation and safety measures when working with high voltage devices.
- Verify Ratings: Ensure the relay’s contact ratings match or exceed the requirements of the connected load.
- Avoid Short Circuits: Properly wire the connections to prevent short circuits and potential damage.